I am currently loving flannel scarves! Not only are they like wearing a blanket around your neck all day they also spruce up just about any outfit! Warm, cozy, and cute! Does it get better than that?! They are also the first thing I teach my students how to sew because they are so simple to make. If you want a longer scarf you can get a yard and a 1/2 and same for a smaller scarf, about 3/4 of a yard will work!
What you will need:
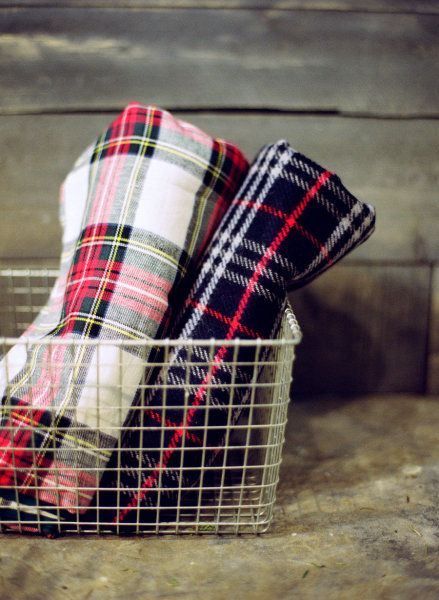
1 Yard of Flannel Fabric (less or more depending on length)
A Sewing Machine
Matching Thread
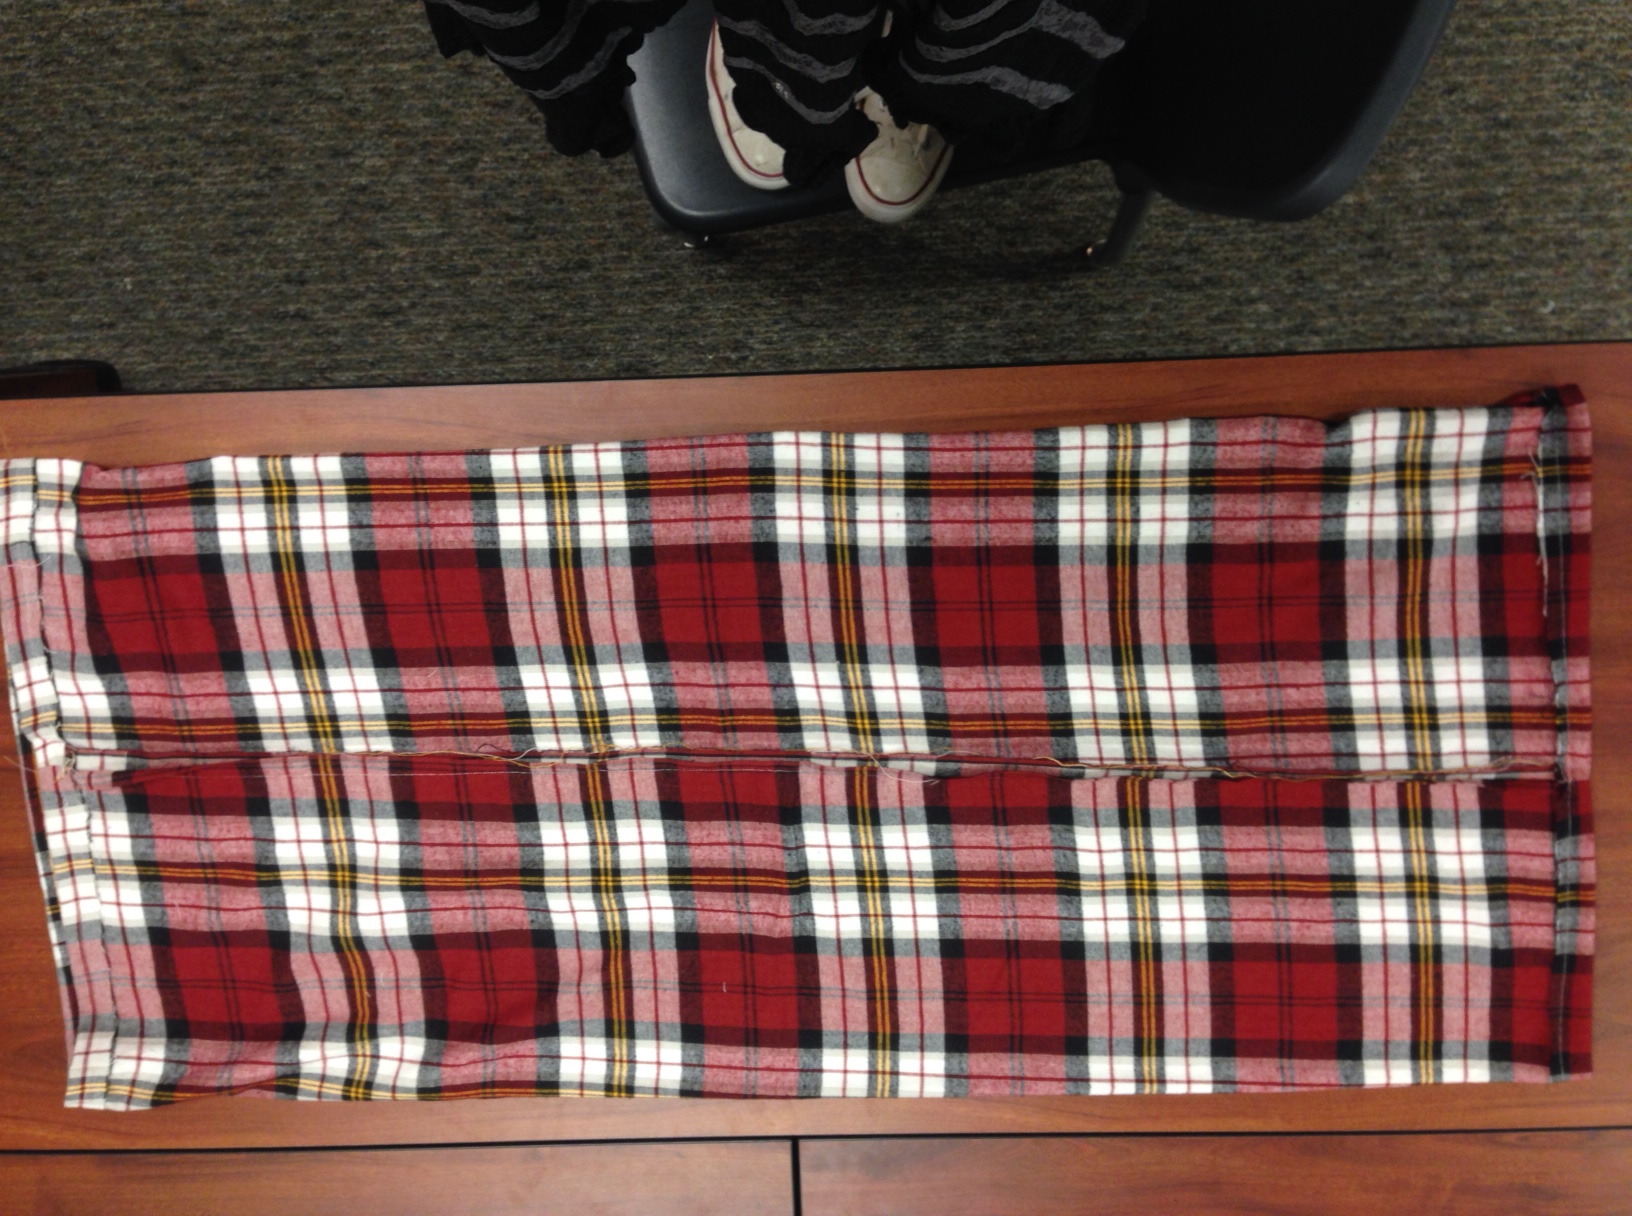
Begin by laying out your 1 yard of fabric and folding it in half, right sides together and lengthwise, or as I tell my students put the “pretty side” of the fabric together “hot dog” style.
**With flannel it is hard to tell which is the right side and wrong side of the fabric, use your best judgement to determine which side you want showing!**

Using a 1/4″ seam allowance stitch up the long side of the fabric. Do not sew the edges closed. You almost want to create a tube! It should resemble a pillowcase with both ends left open.
Keeping the wrong sides of the fabric facing out (you should still see the stitching) reach through the center of your fabric tube and pull the opposite side of your fabric through the middle. Match up the seam ends.
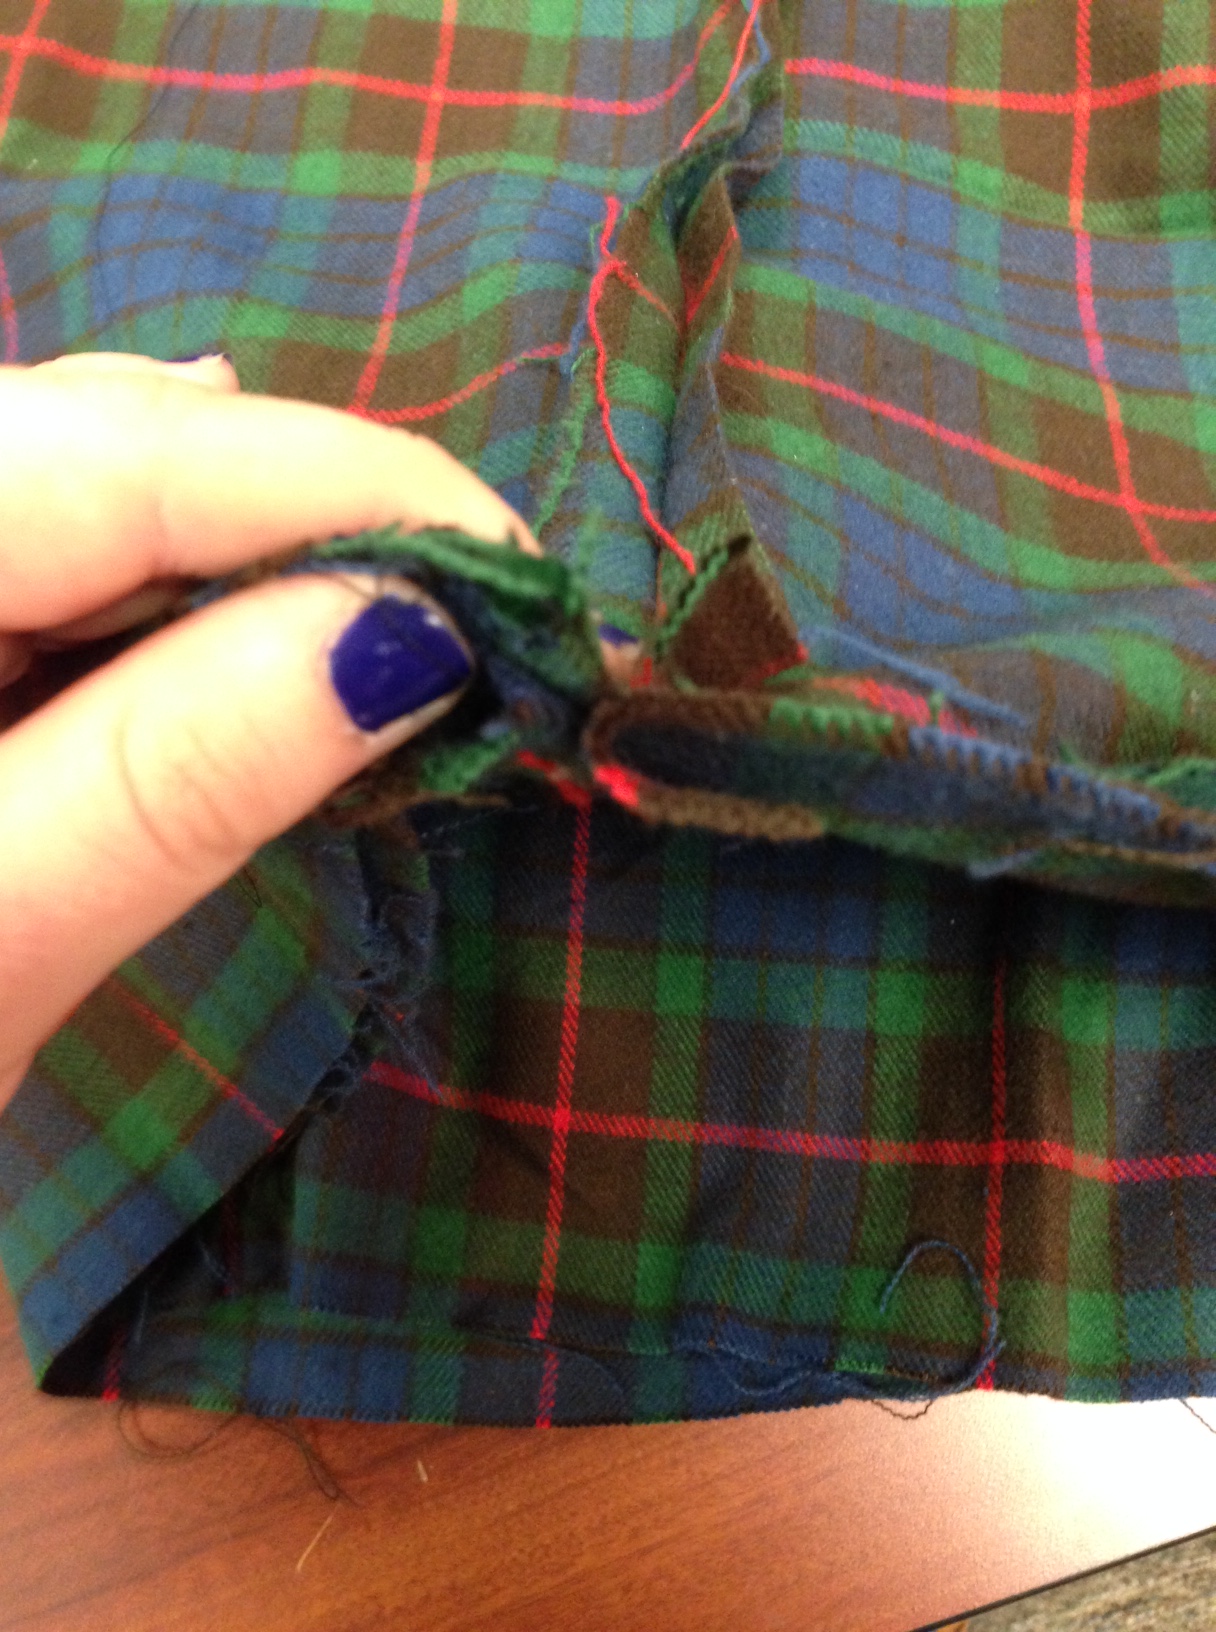
You should now have 1 side of your fabric that is a folded edge and the other side that is matched up with two raw edges.

Using a 1/4″ seam allowance sew around the edge of the area pictured above. I describe it to my students as “sewing in a circle”. I like to start at the seam and work my way around. When you get about 3″ from completing the circle leave a gap unsewn in the fabric.
**I recommend backstitching at the beginning and end of this sewing circle to save some hassle in the next step.**
Turn the fabric right sides out using the gap you left in the circle. Just like turning a t-shirt right side out through the neck hole. You should not be able to see any raw seams once you get all of the fabric through the opening.
Simply straight-stitch the opening closed by tucking in the raw edges. This is the only seam you will see on the outside of your scarf and I normally will drape mine so that it is not showing.
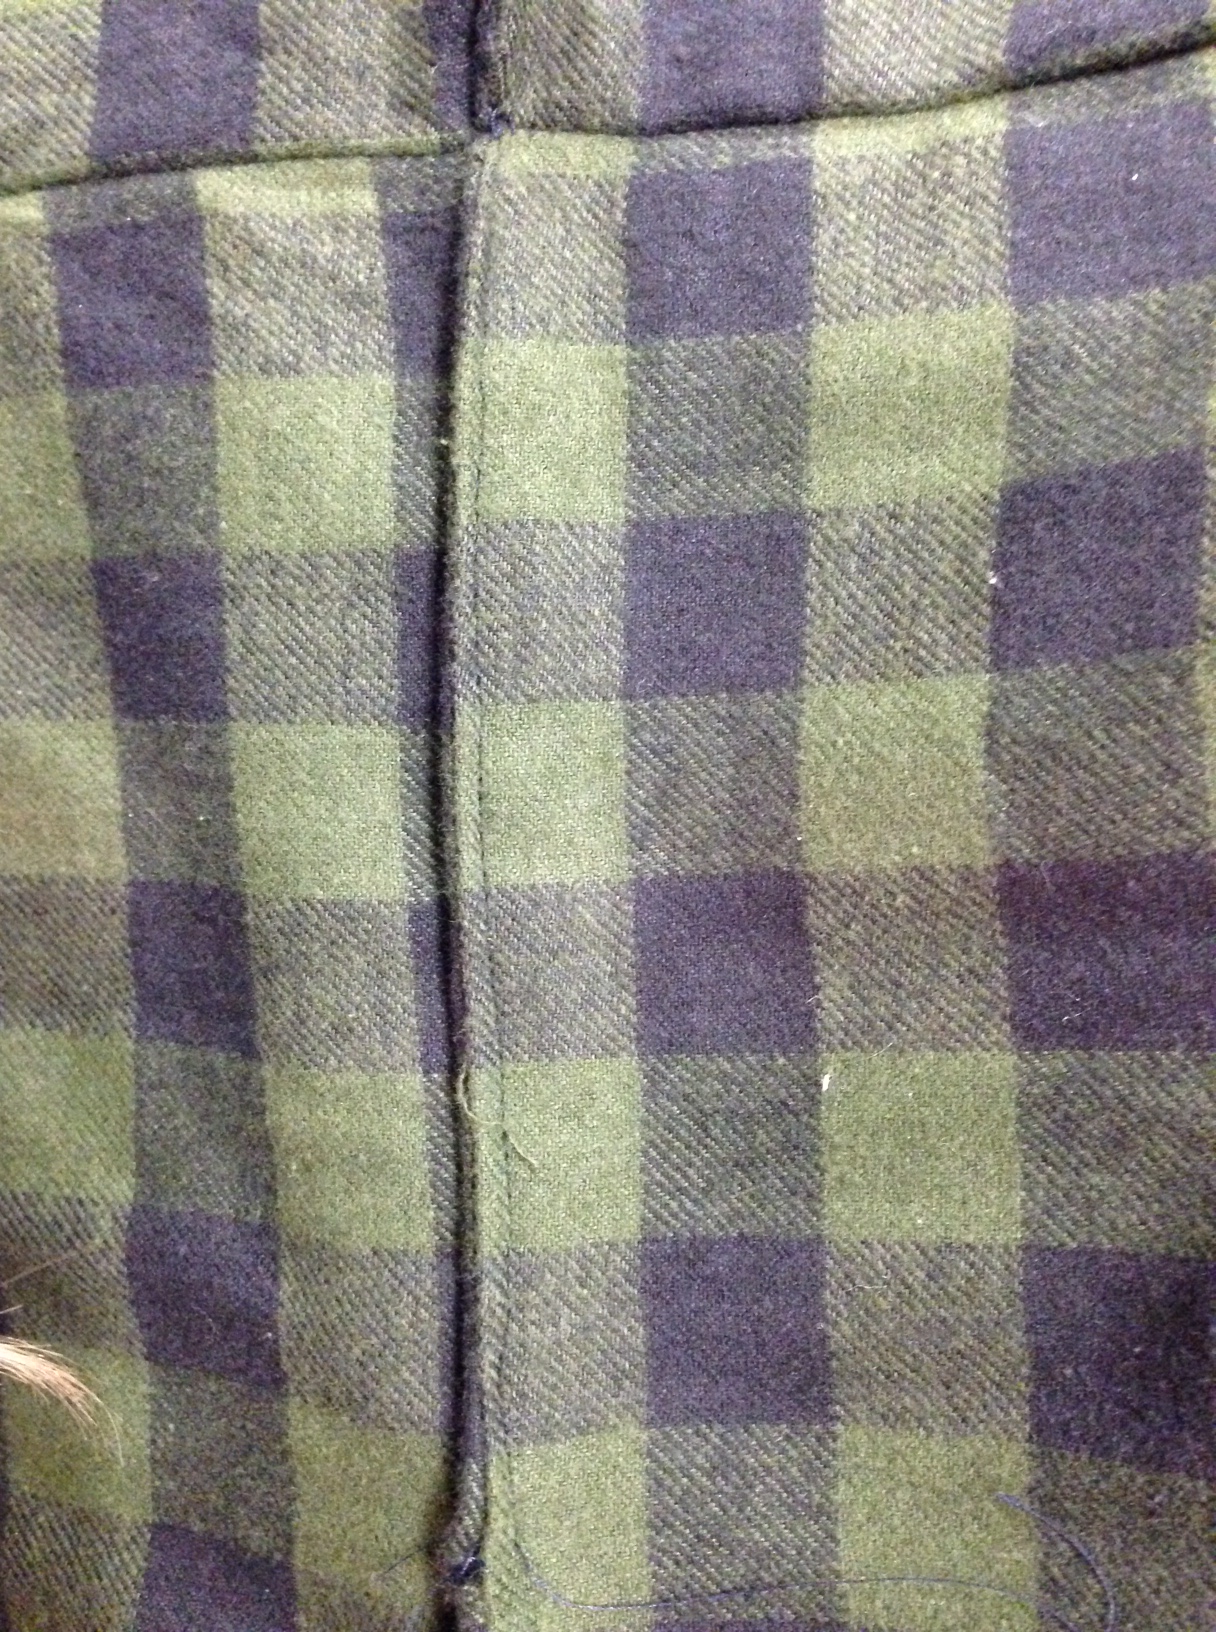
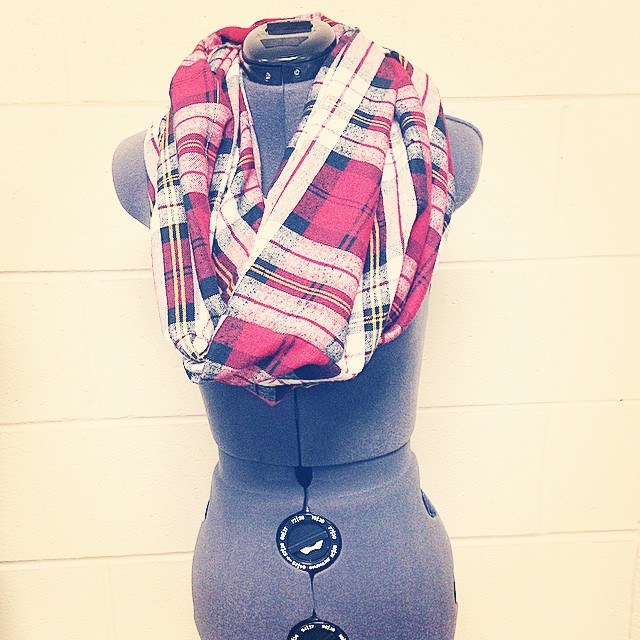
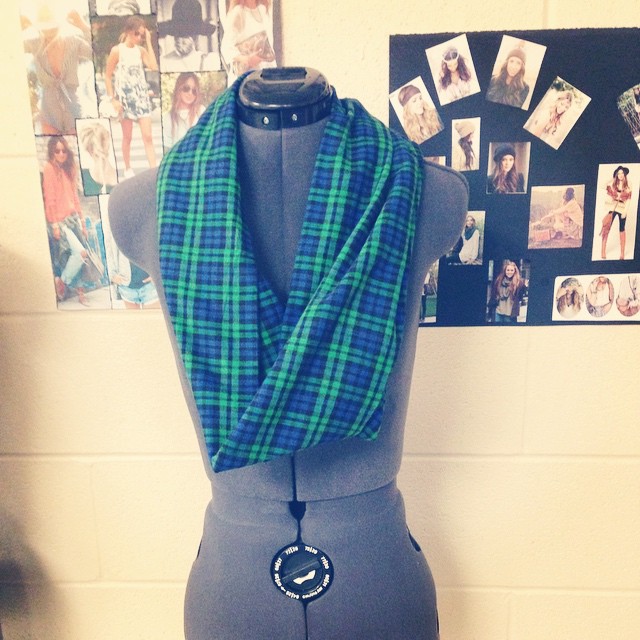
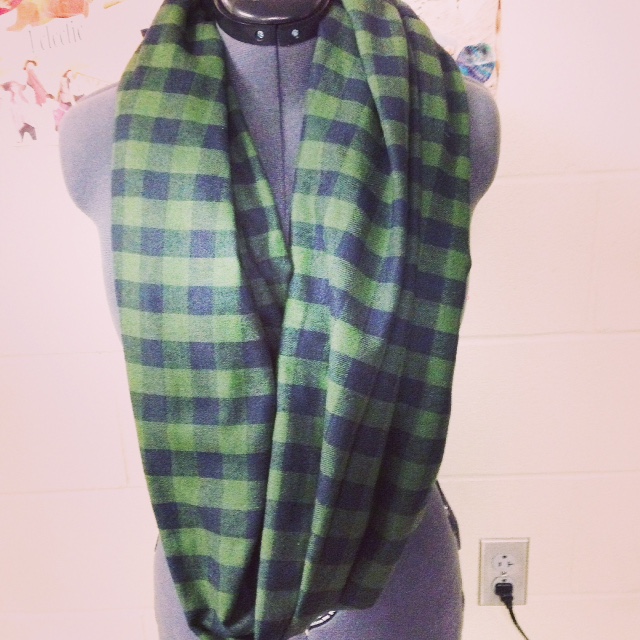
And there you go! I will usually press (iron) my scarf after I get done sewing it just out of habit and to help it lay flatter. Flannel hardly ever wrinkles and the more you wear it the better it will drape and the softer the fabric will be! Here are a few examples!